DIY faux tree
Hello everyone!
Welcome to the Detalles!
Adding greenery to a room is the perfect way to bring nature indoors.

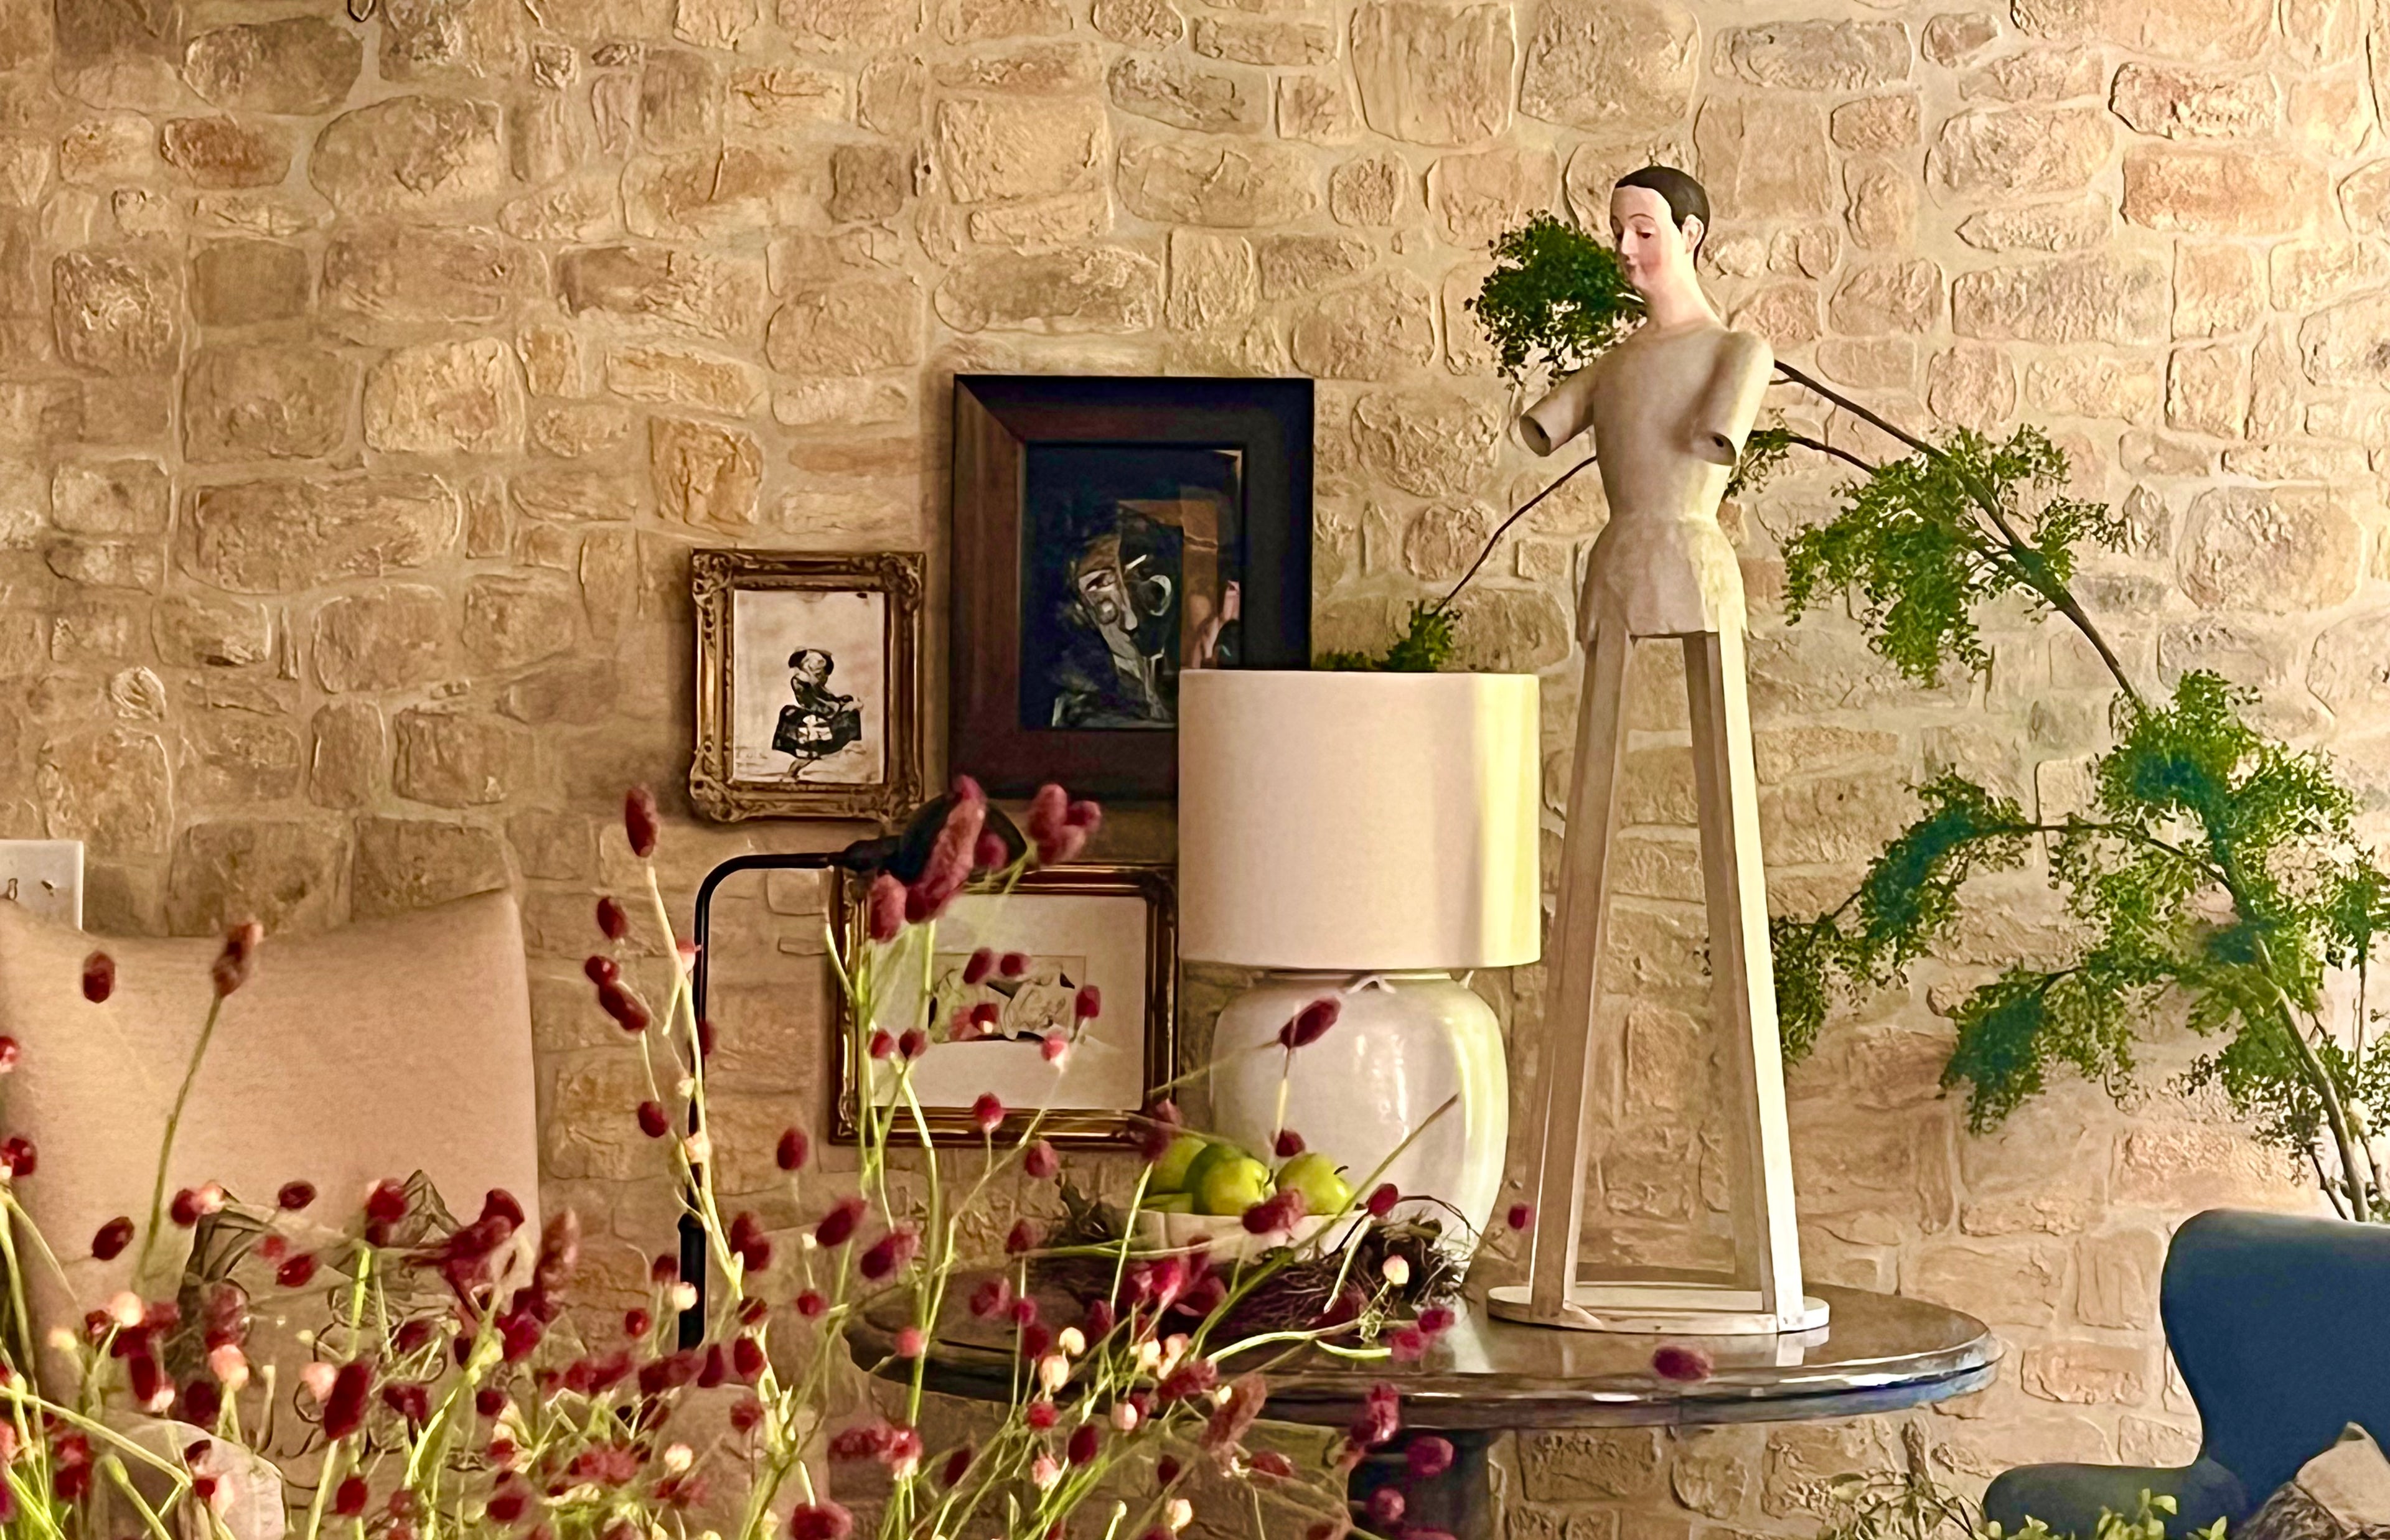
I wanted to bring the essence of nature by incorporating the greenery and height of a tree indoors, but with the limited light coming inside my house the survival rate of the tree was minimal. I thought I could give it a try and make my own tree.
Materials: Tree branches, greenery, drill & drill bit, glue gun, silicone glue, wire clippers, florist wire, fast setting concrete mix, plastic bucket to mix the cement in & set the branches. Craft paper and moss. Vase.

I foraged a few branches of a dead tree that looked interesting to me.

Then, I mixed and secured the branches with fast setting concrete mix to an old plastic container. I was concerned with how much the tree would weigh when done so I found a plastic container that would fit inside the ceramic pot where the tree was going to live.


I wrapped craft paper around the container’s edges to secure the branches during the cement drying process.


I bought greenery bunches. Divided some and left a few whole.

I pre-drilled holes with a drill on the bottom of the tree trunk where the branch was the thickest to glue and insert the greenery. On the thinner part of the tree trunk I used a glue gun and florist wire to secure the leaves. The wire can be covered with some of the small leaves for a realistic look.


I covered the craft paper that was holding the branches while the cement dried with moss all around for a finished look.

I am really happy with the look of my statement tree. No only does it look great but it can be done on a small budget. A faux tree this big can cost between $300 to $700 depending on the supplier and size of the tree. I spent a total of $90 on greenery bunches to make my tree, not including the vase and available supplies.

With creativity and a few supplies you can create a statement tree for your indoor space.
I hope this project inspired you to make your home beautiful.
Until next time,
Make a difference with the details
Thank you,
Rosalia
XOXO