
Butcher block countertops have become very popular in recent years. The durable wood surface makes them a great choice for kitchen counter tops. The rustic butcher block countertop is a wonderful choice for farmhouse and cottage style kitchens. Since wood is neutral it can be mixed with any other materials and decorating styles. The surface is warm, inviting and never goes out of style. It is also an eco-friendly choice that will look beautiful in any kitchen.
Below the video you will find written step by step instructions and photos.
Step 1: Choose your butcher block wood type
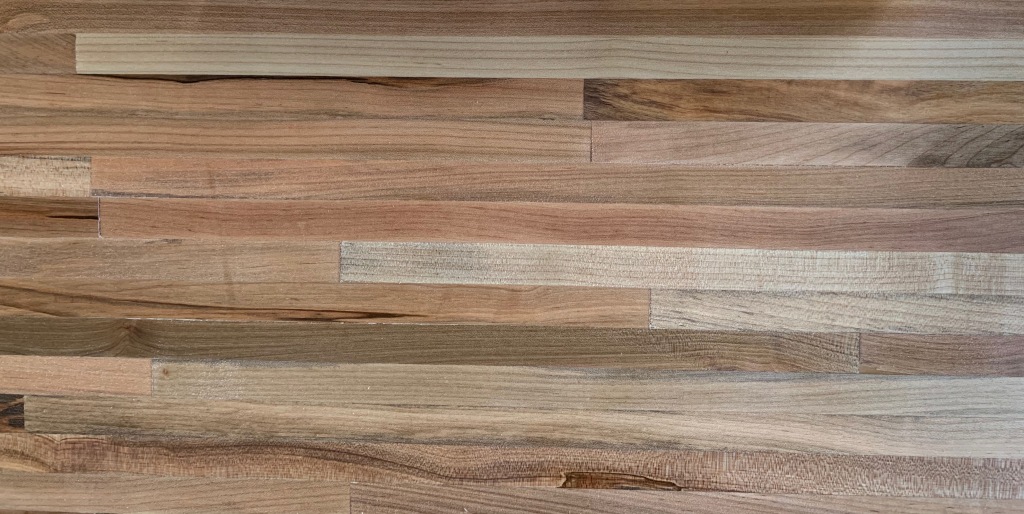
There are several wood options for butcher block countertops such as maple, cherry and walnut. Butcher block islands and countertops allow you to cut and prepare your meals directly on the surface. Properly prepared and maintained wood surfaces can withstand such use.
It is really easy to scratch and stain a butcher block counter top.
If you plan on chopping directly on your countertops, you will mark it with knife cuts. Food and drink can also leave stains. Red wine spilled on butcher block will leave a stain, for example. You can restore your butcher block by sanding over knife nicks and gouges. For more information on how to keep your cutting boards and wood serving pieces in top condition for years to come, click here.
Step 2: Cut the butcher block board to desired size

Step 3: Sand butcher block

Using a small hand held sander with fine sand paper (220 grit), sand the entire surface following in the direction of the wood grain until smooth. Blow off the dust using a blower gun or a duster brush. Wipe with a damp cloth.
Step 4: Cure and condition butcher block
Apply food-safe mineral oil to the entire butcher block and let it soak in. Wipe off excess oil and let it dry for 24 hours. Repeat this process 2 to 3 times. Use the the same cloth for each of the treatments. Store the rag used in the first treatment in a zip-loc bag. The rag absorbs quite a bit of mineral oil; by using the same rag on the second and third application, you will use less oil.


Apply one coat of the food safe wood conditioner and let it dry. Wipe off excess conditioner. For food prep areas, you’ll want to apply (and periodically reapply) a mineral oil finish.


I hope you enjoyed this project.
For more DIY projects and to help us grow; subscribe to our YouTube channel!
Thank you,
Rosalia

